WordPress is an open-source content management system (CMS) that is available to install manually, or within seconds using the cPanel Softaculous Apps Installer for free. In this guide, you can learn how to install WordPress using Softaculous.
For WordPress users in need of a lightning-fast hosting solution, we now have a WordPress Hosting package that has all your needs for speed and reliability covered.
Install WordPress through Softaculous
- Log into your cPanel.
- Go to Software section, then click on the Softaculous icon.

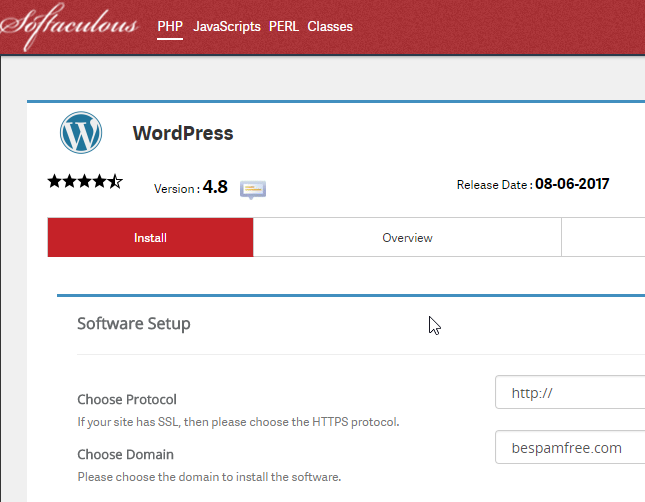
- Click on the WordPress logo. This will open a screen with several options displayed. You will see a screen with Install, Overview, Features, and Import. Click on the Install link.
- Fill in the WordPress installation details. The following is the necessary information you need to fill in:
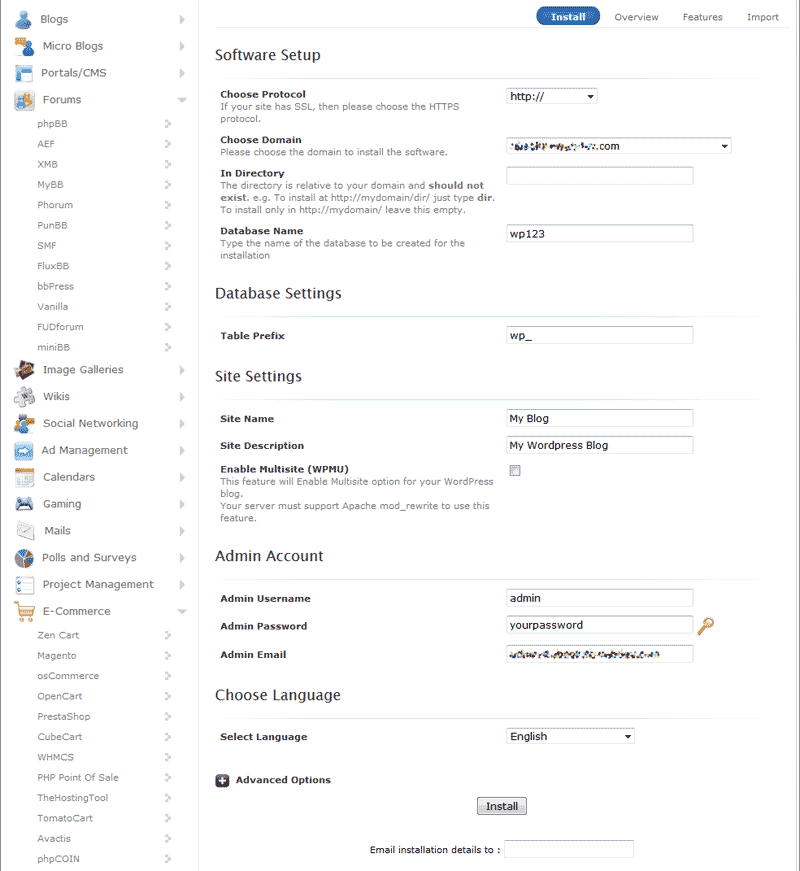 Software Setup
Choose Domain Select the Domain you want to install your WordPress on from the drop-down menu. In Directory Leave this blank to install on the domain directly. If you are installing in a subfolder of your site you type the folder name here. This will make the blog load like the following: example.com/foldername. Admin Username Enter a username for your WordPress Dashboard login. Admin Password Enter whatever password you want for the Dashboard Login. Admin email Enter a valid email here. The system will place an invalid email here. you will need a valid one. Installing WordPress on a Subdomain– If you decide that you wish to install to a subodmain, then you will need to first make sure that you have correctly created the subdomain in cPanel. The main difference is that the path will appear like this: subdomain.main_domain.com instead of like this main_domain.com/subdomain. If the subdomain is already created, then you will be able to select the subdomain from the Choose Domain drop-down menu.
Installing WordPress in a Subdirectory– If you are trying to install WordPress into a sub-folder (that is not specified as a subdomain), then the Choose domain option should remain as the domain name that you wish to use for the installation. Be sure to specify the folder that you wish to use in the In Directory field – as per the example above.
Click Install.
- Softaculous will check the submitted data and install the files to your server for WordPress.
Click Return to Overview. Now you will see your WordPress installation in the Current Installations list.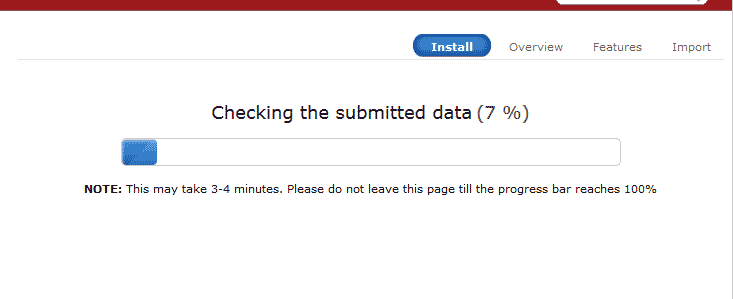
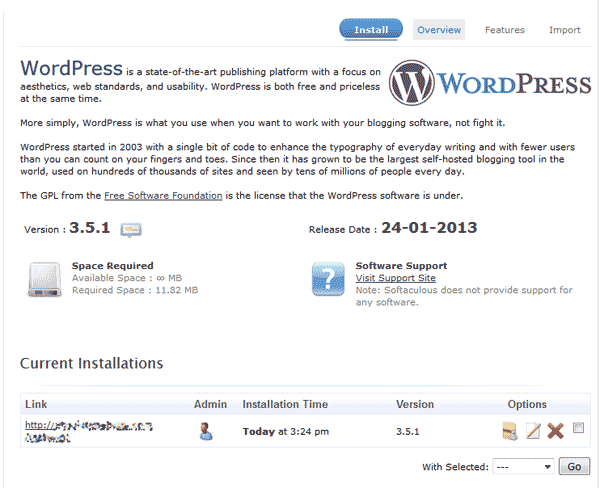
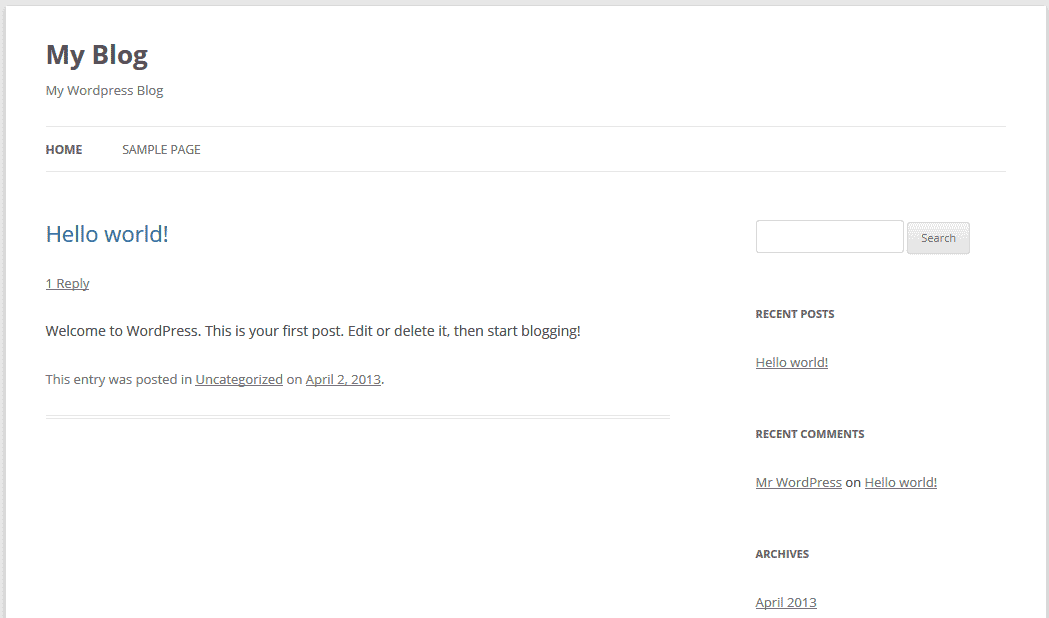
- Visit your website in your browser. You should see a new WordPress install like the snapshot to the right.
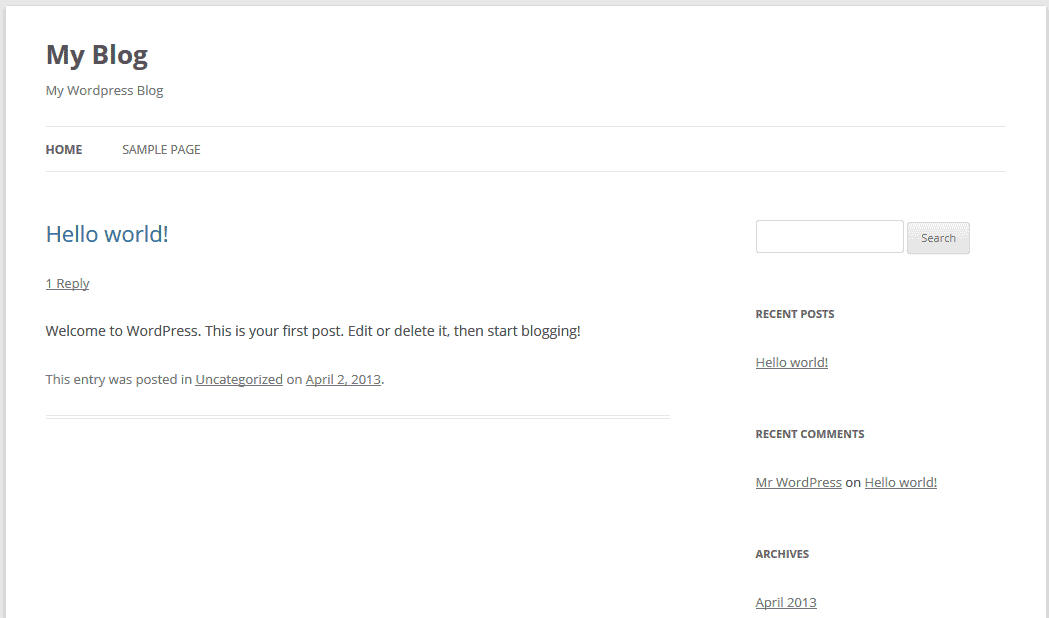
Note! If you do not see your website load after installing your WordPress site, you may need to point the nameservers, wait for propagation, or another DNS or Domain related issue.
Congratulations, now you know how to install WordPress using Softaculous!


